This week we're continuing where we left off
last week with my vampire lord, Hades.
There's still quite a bit of work to do, so let's get started.
A major feature of the conversion is the hellsteed's wings. Last week I created wire frame skeletons for the structure of the wings out of paper clips, now we need to add the actual wing surface. To do this we'll start by wetting our green stuff working surface to avoid excess sticking. You might remember this as being the same step as when we rolled out the gorgon's hair.
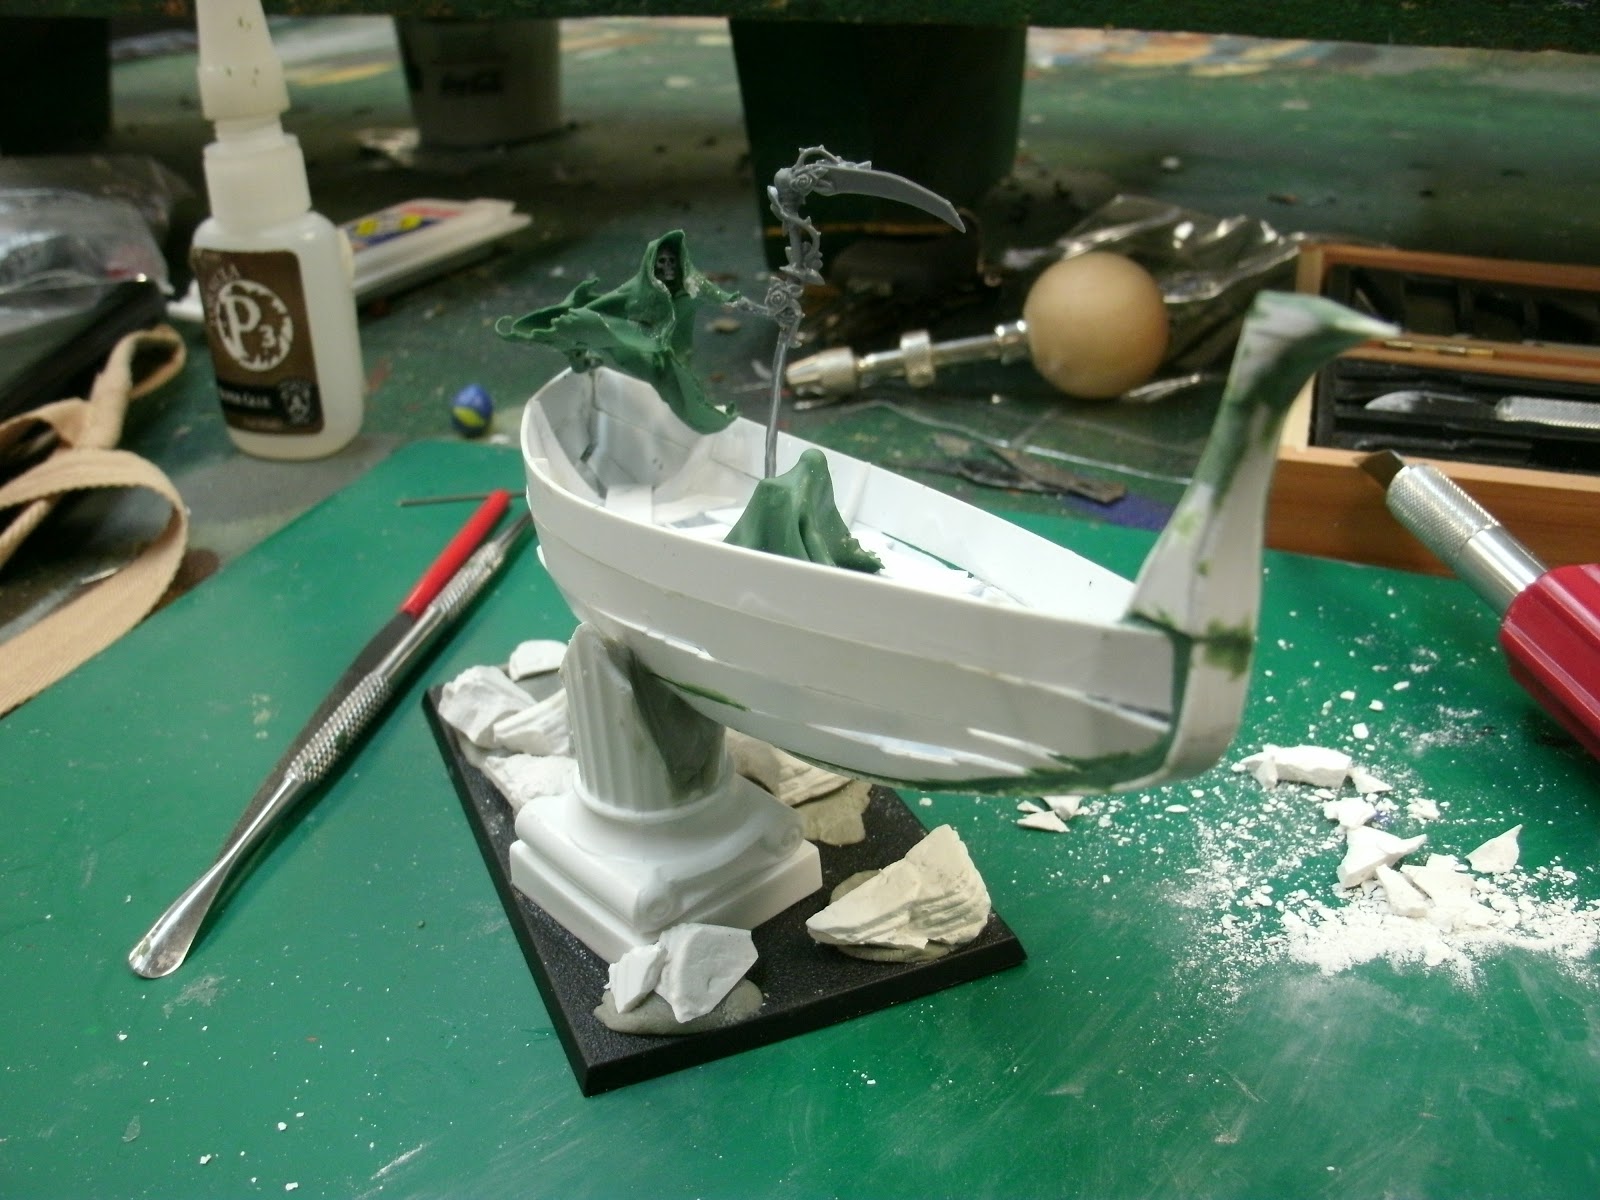
We'll start with the hellsteed's left wing by applying a generous portion of green stuff to the wetted board. I've already smashed the green stuff between my fingers to give it its initial shape - roughly triangular.
Next, we need to flatten the green stuff even more. I like to use the cylinders that my green stuff comes in, in truth, you can use a rolling pin or anything else that is suitably cylindrical. Be sure to wet the rolling tool liberally, some stickage may still occur, so be careful as you proceed and delicately pull the green stuff away from the tool, careful not to leave prints.
The green stuff will need a little time to dry (~20 mins) before being applied to the wings' skeletal structure. In the same way as waiting with the gorgon's hair, this will allow the green stuff to hold much of its shape, and not fall apart while we're working with it on the frame. In case the 'stuff it sticks to the board use a flat edged xacto blade to remove it. To avoid this it helps to loosen the 'stuff after it's been rolled and prior to drying.
Press the edges of the wing surface onto the outer edges of the frame and make sure there is a strong bond. This is important because the wing surface will need to hold while we press and shape it between skeleton pieces. A large convex sculpting tool is best for pressing the wing surface between the wire structure pieces. Rub the tool in the spaces between the wires to fold the wing surface between them. It will look something like this when done..
The shape for the initial wing surface is done, but still a little rough. While its drying let's work on the other wing.
Once again the rough wing surface is applied to the skeletal structure.
And folded between the the supports to create a natural look.
After a period of drying (at least an hour) has passed, cut away the excess wing surface to build the final shape of each wing.
With all the wings trimmed up, we'll apply a layer of green stuff to each wing arm, and a "membrane" aka wing surface to bridge the gap between each arm and its corresponding wing surface.
On the hellsteed's left wing I went back and added another flap of folded wing membrane to give it the look that it is folded up upon itself.
As you can see, the paper clips are still visible on one side of each wing. To cover these, roll a segment of green stuff (like we did with the gorgon's hair) to the length of the exposed clip. Press the roll directly on top of the clip and smooth into the crack on either side. This will give the wing a fluid membrane around the paper clip structure which has form the "fingers" within each wing.
To pronounce the fingers of each wing we'll once again roll out sections of green stuff.
Apply each segment over the clip structure on the outside of the wing membrane.
Use a tool with a fine edge to push the roll into the membrane on each side. What we want to do here is maintain the cylindrical shape of the roll while blending it into the membrane on either side for a smooth transition.
On the lower edge of each wing, roll a piece that has a thicker segment towards the top and bottom. This will build the appearance of increased musculature on the largest of the wing fingers.
One of the last steps to completing the wings is to give their fingers "knuckles." To do this roll out a ball of green stuff, each ball will be a knuckle. Blend the sides and two ends into the finger it rests on. With a tool, press indentions into the knuckle.
With all our knuckles in place we can finish the wing by adding talons. I have found a favorite in excess Finecast resin sprue for creating teeth/talons. With an xacto, file, and sand paper I made four talons for each wing, three for each fingers and one for the thumb on top.
Here is the right wing, finally complete!
The addition of a few flying specters from the Coven Throne plastic kit add another undead embellishment.
Hades and his hellsteed are about 85% done, we still need to flesh out the wing arms a bit more and add a few more green stuff embellishments to his person and gap fill. Stay tuned next week for the finished model!


.JPG)