
This week we're picking up where we left off in constructing a display board. Last time, as you may well remember, we built up the board's foundation with two simple materials: composite board, and insulation board with the use of a hand-saw, a box cutter, and some all-purpose glue.
As we continue this week, here's the tools/materials we'll need:
1. Wire brush
3. Box cutter
4. Shop vac
5. Fine grain sandpaper
5. Felt tipped marker
6. Small caliber x-acto blade
7. Plaster, I use Woodland Scenic's Mold-A-Scene Plaster, it incorporates a light weight ballast which gives the texture an integrated rocky appearance

Now that the foundation's glue seal has set for a least 24 hours we're ready to continue with the construction of the board and get started on the fun part, building terrain.
In order to create organic transitions between the layers on our board, we first need to ready the layers by trimming their edges. To do this, run your box cutter at an oblique angle to the corner, making sure that your cut pierces the foam on the lower side. What this does is remove the sharp corner on the higher layer, readying it to be smoothed to meet the layer below it.

This is what the top layer's edge should look like after the corner has been removed.


Now that there is a smoother surface, we'll continue the transition by brushing the edge with our steel brush. Apply enough pressure to shave off the foam while brushing, but don't apply too much pressure that you start creating deep grooves. After you have brushed in one direction, turn your brush and come at it from another direction. My method is to brush down the slope I wish to create, and then turn my brush perpendicular to my previous strokes and brush the face of the slope. This will ensure that unnatural grooves don't form from brushing in only one direction and a clean slope forms.
Use your shop vac to suck up the foam debris often, this technique creates a mess!

Make the slope gradual, this will keep your models from having to struggle to keep from falling over.
To finish the slope-transitions, sand the slope with your fine grain sandpaper.

For the lowest of the three levels I'm choosing to have an abrupt transition and will keep the straight up and down edge. This will effect the appearance of a retaining wall.

It's important to note that you want a plan going into the construction of your display board. However, you shouldn't fear deviating from that plan (as I have already man times at this point in construction). As I was working I found myself altering from the original layout I had initially put on paper. Whether it be out of necessity or for a greater aesthetic, let the board tell you what works and doesn't while you build!

To give the "retaining wall" a more natural appearance score the edge, this breaks up its uniformity and makes it appear as if built out of worn stone and earth.

With the majority of the landscape smoothed and cut, it's time to add buildings to our piece. Using your felt tipped pen, trace the outline for where each building will be placed.

Take your box-cutter and remove enough insulation board within the building's outline to allow it to set into the board, this is a start to a secure foundation.

Place the building into its groove and seal with a layer all-purpose glue along the foundation.
Once again, with all applications of glue, give the seal 24 hours to dry. This seal will not be stable enough by itself, but will act as the first layer for the building's foundation.

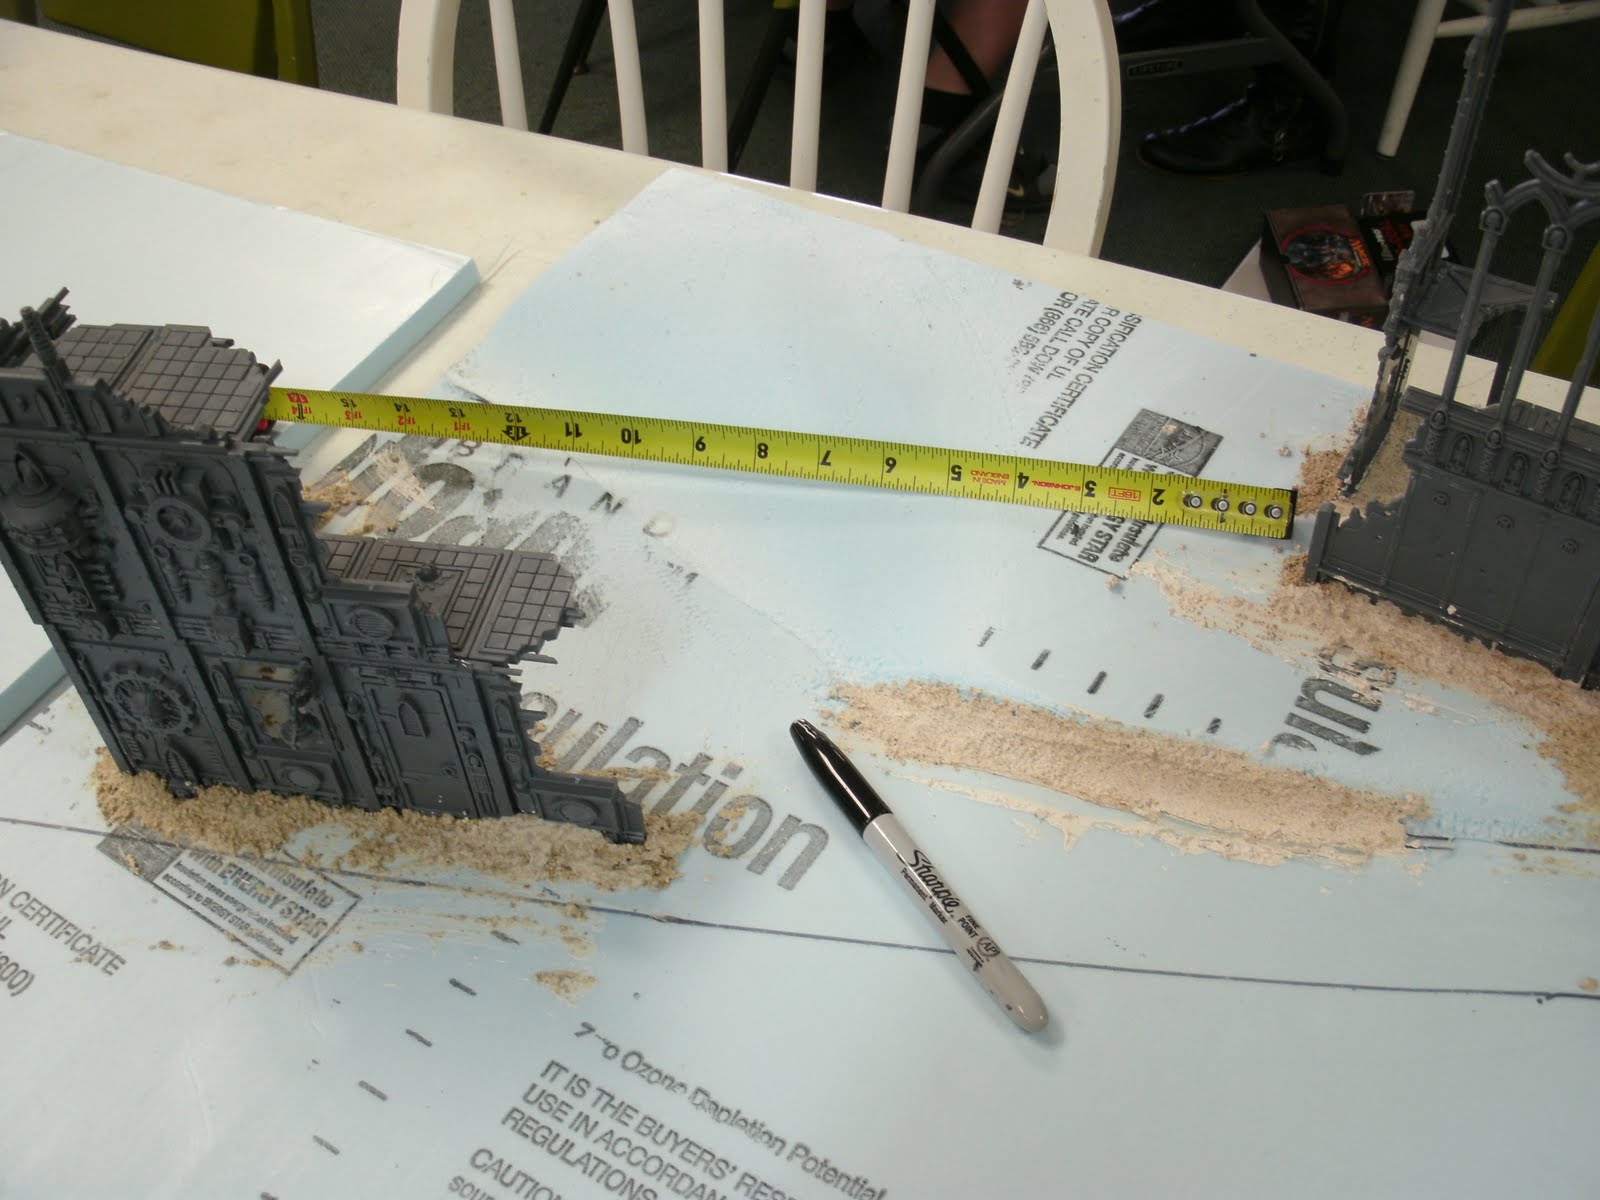
When 24 hours have elapsed we can begin applying our plaster to the board. As I stated before, the Mold-A-Scene plaster contains a ballast in its mix, this is great for creating rocky and sandy terrain. The lower level of my board is going to be a more natural earth, whereas the top two levels will be "urbanized" and will be a great deal less rocky.
The box has a mixing suggestion for the plaster, but I like to eyeball it for the consistency I want. I add a liberal amount of water to the mix, which gives a smooth spread and smooths out the rockiness of the plaster's appearance just a smidge. If you want a rockier appear, simply add less water.


Add plaster around each building's foundation to further strengthen its base. This will also give you a more natural looking transition from building to terrain.

Apply plaster to those topographical transitions which also need a smoother transition. Plaster can also be used to fill any holes created while making the layer transitions. Insulation board has the tendency to come off in chunks.


For the final layout I settled on three building structures: a Shrine of the Aquila, a manufactorum, and the statue's facade.

A further application of plaster is applied to the remaining foundations of each building.


The Shrine of the Aquila was having a bit of difficulty standing straight, so I took a few of the support pieces from the manufactorum boxed set and used them to prop of the first level of the structure.
With all the buildings placed it's time to add the coolest feature of the board, the warp gate!

To construct the gate, first trace the outline onto insulation board and then cut it out with a boxed cutter.

Now that it's cut out, use the same technique employed to blunt the edge of the board's terrain layers, but this time with an x-acto knife to decrease the gate's geometric blockiness.

Cutting along the edge and deeper into the corners will make the gate look fluid, like it's pulling itself into reality.

Next time we'll continue constructing our board by finishing the warp gate, creating empyrean spilling onto the board, and by adding finishing touches to the landscape. Stay tuned!
A few weeks ago I mentioned some friends and I were fighting a 40k campaign in the Sartoris System. Well, the campaign is well under way and already some hard fought battles have raged across the surfaces of the system's hive planet Aequus and its forge world Lux.
Here's a map of what the war-torn landscape currently looks like: Blood Angels have taken up a strong point on Lux, Knights of Blood are fighting for their lives against the encroaching Demon horde, and Tyranids have been drawn into the fray, led by the conflict's disturbance in the warp.

For more narrative fiction about the campaign, pics, and campaign rules follow us on Facebook by searching for the "Sartoris Campaign" group!
Really cool blog! Keep it up!
ReplyDelete