
With armies on parade taking a leading role at GW events and garnering lots of praise. Therefore, it's only fitting that this post focuses on the basics behind making a foundation for an army display board. We'll be taking a look at creating a display board in parts, first, focusing on the board's foundation, second, creating terrain effects and scenery fit for an army, and third, painting and finishing the board. I'll take you along step-by-step as I create the display for my Daemons of Tzeentch army, let's get started!

First we need to gather together our tools and supplies, we'll need:
1. 1/4" thick wood board (not pictured), I used composite board for its rigidity
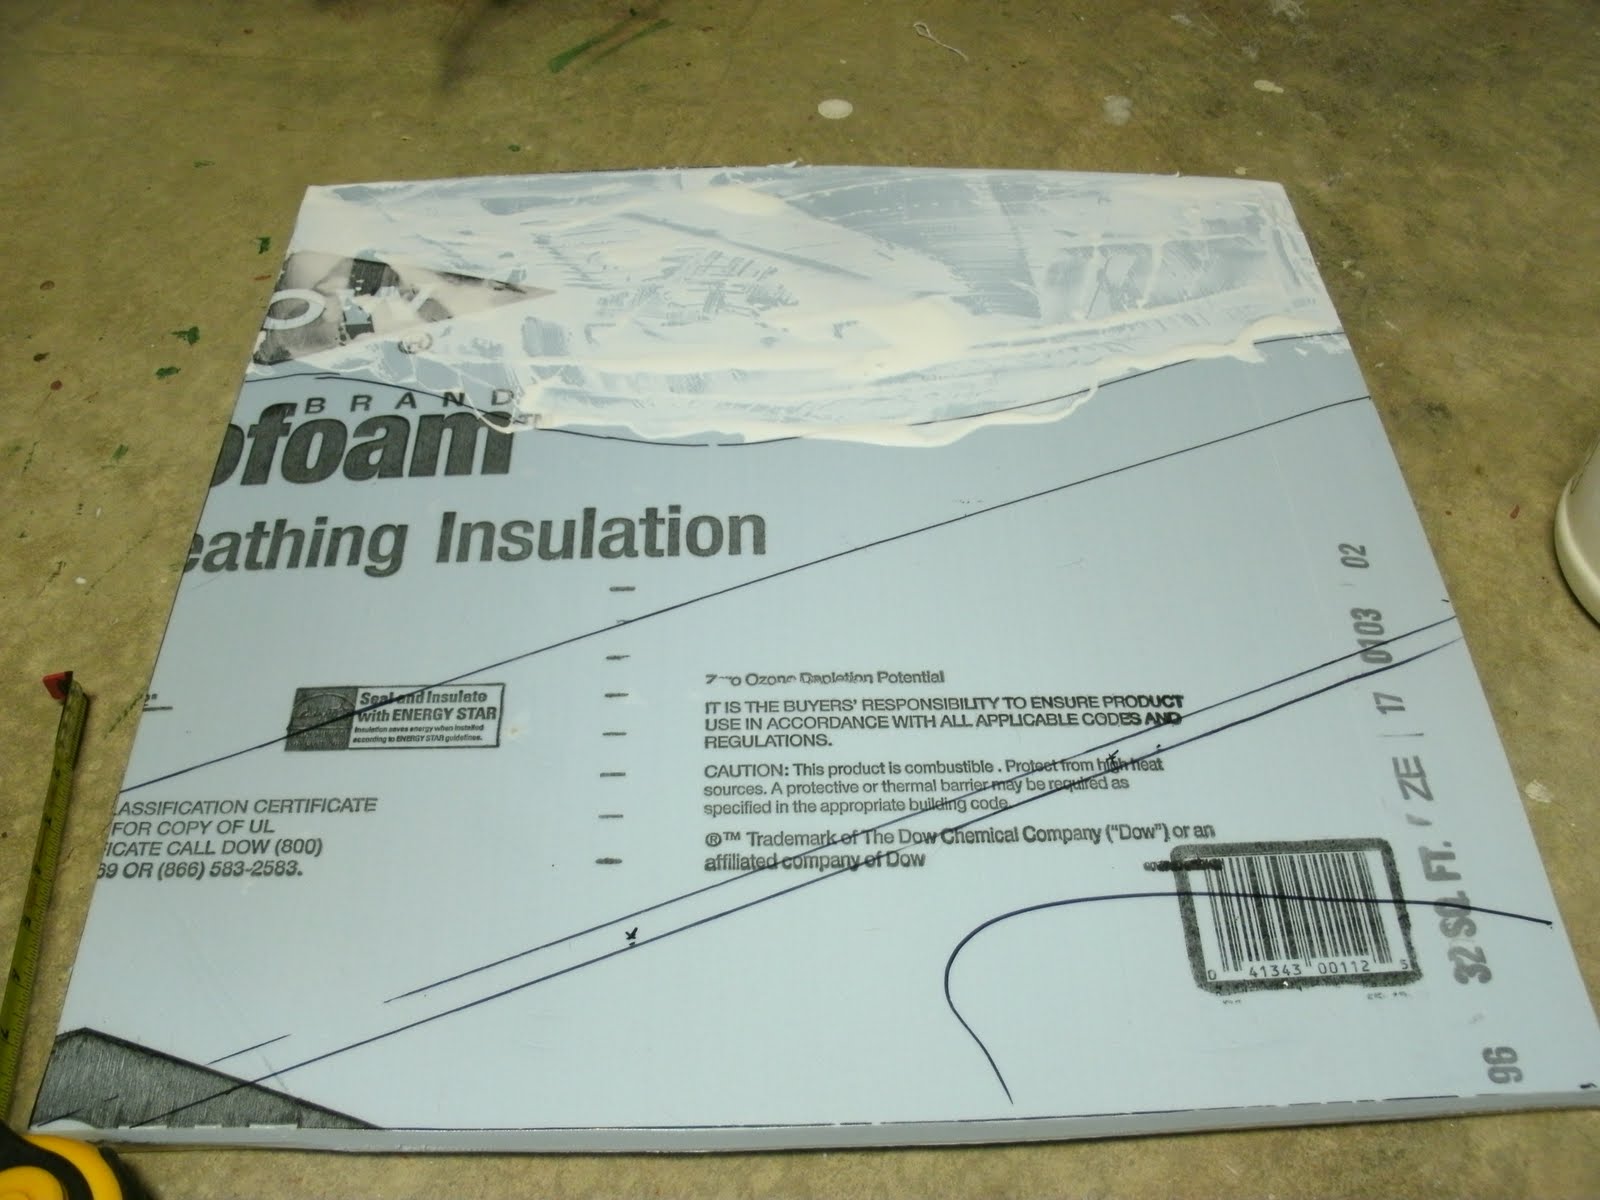
2. 1/2" insulation foam board, sold in 8'x4' sections
3. Handsaw or other wood cutting device
4. Box-cutter
5. Glue, I used Titebond all-purpose
6. Tape measurer
7. Felt tipped pen
8. Applicator (not pictured), for spreading glue, I used an old paint brush

Start construction by marking two 2'x2' squares onto your insulation board. Cut them out with your box cutter, a three/fourths deep-cut on one side of the board and then bending on the seam should give you a clean split.

Cutting out two sections will give us the ability to create a good measure of gradation to the terrain. If you don't want to have any hills or only slight change in terrain elevation, one 2'x2' section will do just fine.

Next, mark your base board with a similar 2'x2' outline and cut. Yes, I did feel old school using a handsaw. A point of note, keep the saw as horizontal to the plane of the board while cutting, this will give you a straighter cut along your line. Dipping the saw "nose down" will allow you to easily wander off your line.

If the board is warped and doesn't sit flat on the ground, get another piece that will, you'll regret a wobbly board later!

Put on a liberal application of glue to the wood board surface.

Use your applicator to spread the glue evenly across the board, making sure to get glue all the way to the edge. If you're working in a location where you don't want to make a mess, put down a tarp or plastic sheet to prevent overflow from marring your flooring surface.

With the glue evenly spread, place the first layer of insulation board on top. Apply pressure to ensure a suitable seal between the wood and insulation board. In this case, I decided to use a number of disused binders and boxes of Magic: The Gathering cards. Whatever is heavy and on hand will do.
Wait ~30 minutes for the glue bond to seal before continuing.

Now that the first layer is adhered to our base board, we'll take a look at attaching the second layer. Since I'm going to create a slope from the back of the board to the front I won't need the whole 2'x2' section.
Drawing up a quick schematic allowed me to judge where I wanted to gradation occur. In the north-west corner will be a warp gate and a ruined lined road will run from the east mid-board to the south-west corner. I decided that I wanted the gate on a high plane, the road and buildings on a middle plane, and a small portion of the south-east corner on a low plane.
Next, I drew a line on the second board where the high-plane would meet the middle-plane and cut.

With the piece cut, I now have the high-plane and middle planes on the board. Later I will smooth the transition between planes, but for now they will remain rough cut.

Repeat the same process for glue application as with the first layer of insulation board.
Spread the glue all the way to the edge of where the top board will lie, if you don't you may find your board flaking off in chunks while grading it down to a smooth slope!

Weight the top board as was done before and allow to dry for ~30 minutes. After that time the bond will have secured, however, wait another 24 hours before proceeding in working on your display board as the glue won't have completely dried until that time.
In part 2 we'll look at how to create transitions between the topographic planes and create a natural looking slope, we'll take an inside look at building a 41st millennium city-scape, and how to make the scene look suitably warn torn. Stay tuned!
No comments:
Post a Comment