
First, last week I promised a sneak peek look at my Tzeentch herald on chariot.
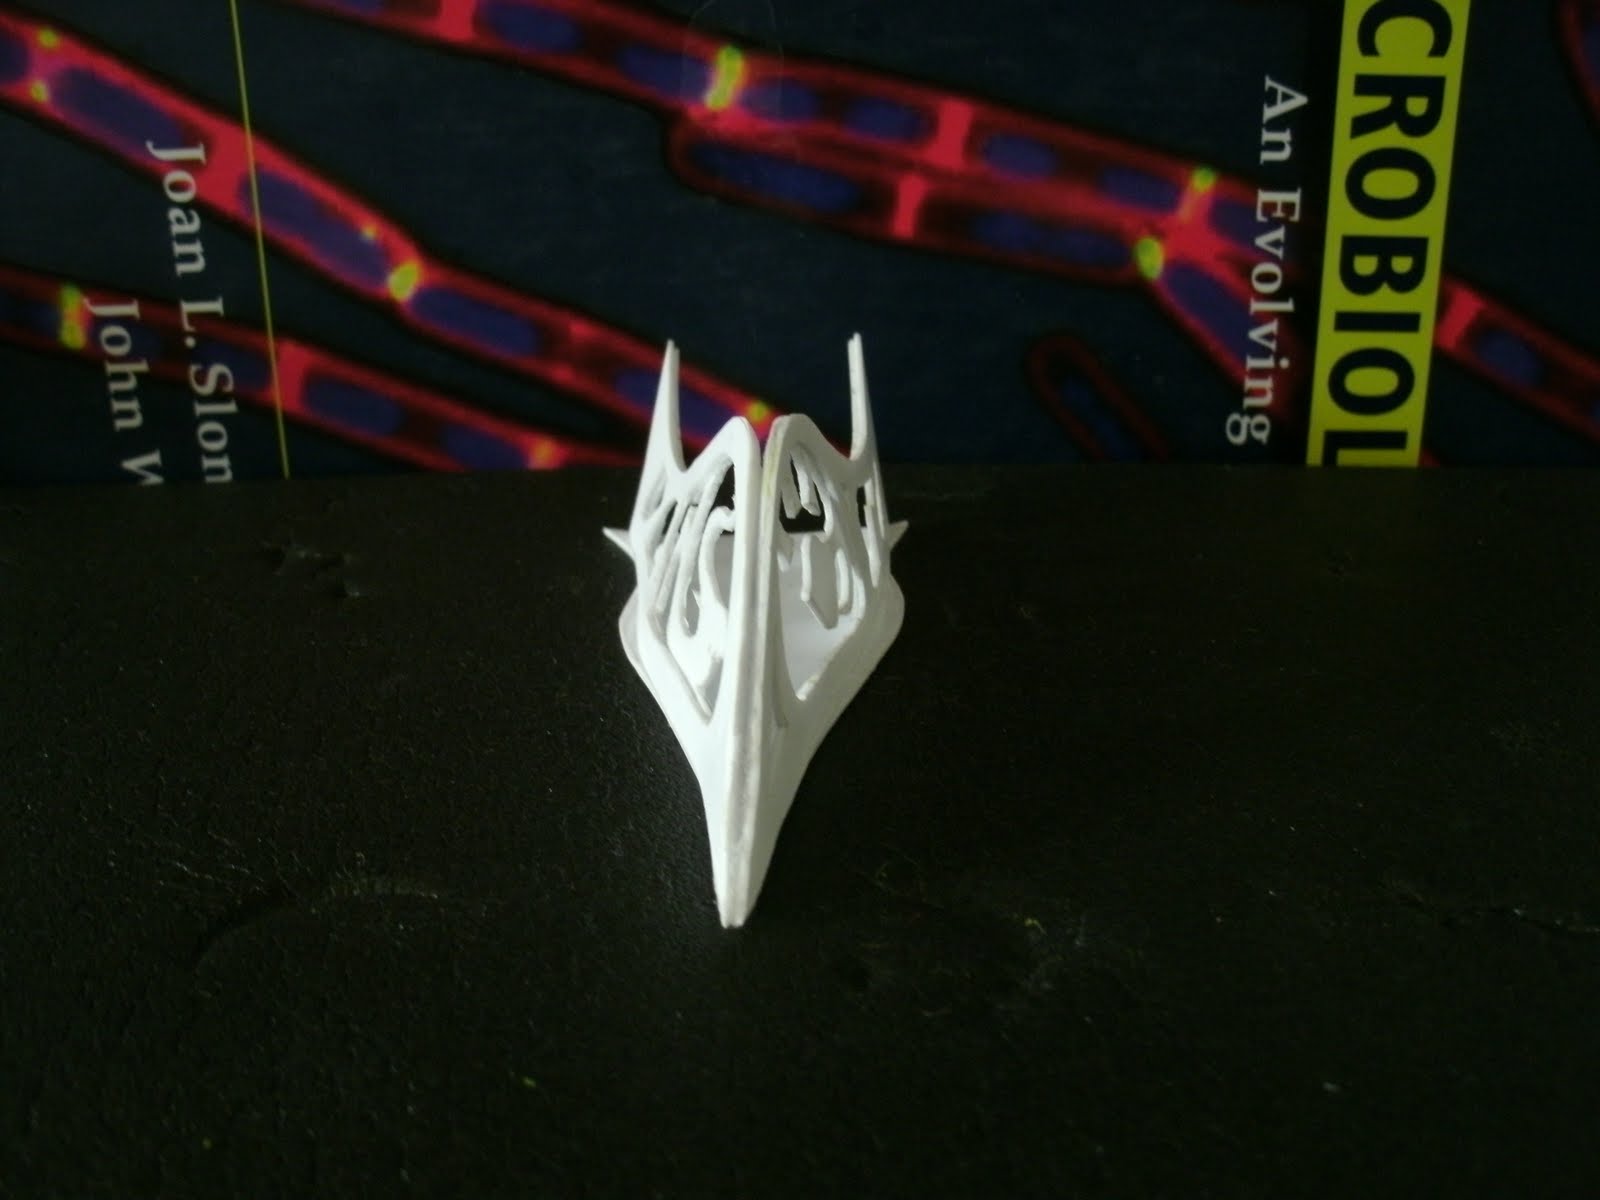


The chariot is still far from finished, but the base structure is complete. To get the base I used 0.8mm Plastruct brand plasticard (called styrene sheet by the manufacturer). Starting with the base I traced an outline onto the plasticard and then scored it along the tracing with a heavy duty hobby knife. After the outline was done (scoring well past corners helps to get a clean corner point) I bent the plasticard along the scoring until the seam broke all the way through to the other side. This is a useful technique because plasticard is fairly hard to cut straight through with a blade while keeping a clean line.
Making the sides of the chariot were considerably more involved than the base. Essentially what I did was make a "base" outline (an outline to use for both sides so they'd be symmetrical) that didn't include any motif details. With that complete, I cut four identical sides using the technique described above. Now, on each I created a unique motif pattern that would create a negative image. It was important to game-plan the pattern on each side so the top and bottom layers of the chariot walls would complement each other. Before I glued each piece together to make the two walls I made sure to use a hobby file to smooth out some of the rough cut marks and create sharper curves, etc.
The third and final step in the assembly was to file the sides of the two walls where they would meet at the prow of the chariot and with its base. Filing them at complementary angles to their attachment points created a flush and strong fit. Viola! The base to the chariot was complete! Plasticard is a bit tricky to work with, but when you get down the fundamentals, a whole other world of hobby possibilities is open.


As you can see from the concept pics above there's a bit more work to do still, namely the inclusion of two screamers pulling the chariot and higher levels of embellishment.


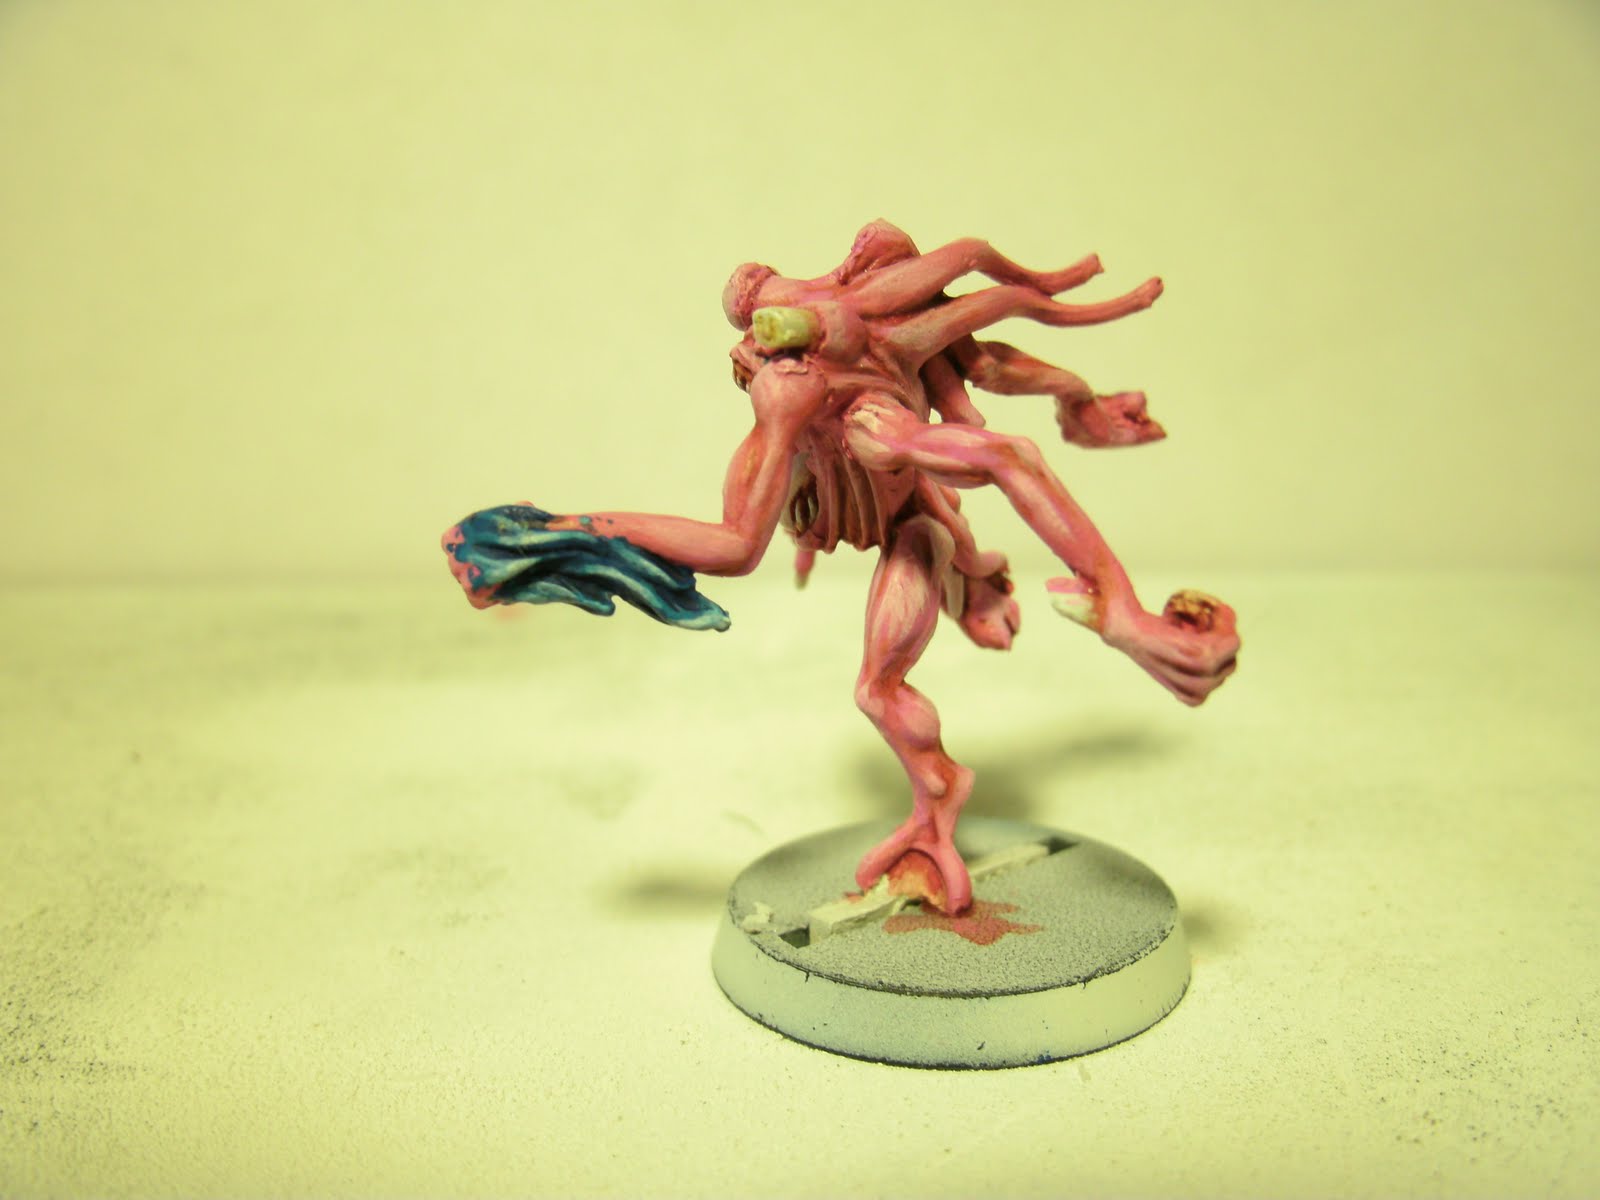

As the title of this post promises, let's talk wet palettes. But what gives with the horrors above? They're the first two models I've painted using my own home built wet palette. What is really great about a wet over dry palette is the longevity that you can drag out of a paint. The two horror models above were painted five hours apart using the same on-palette paints. This is really essential when trying to get a uniform color scheme across a squad, you simply don't have to worry about re-mixing a blend and hope it matches. I've come to expect about 24 hours of use out of a paint applied to a wet palette, but with the application of some acrylic thinner, you could probably stretch that out even further.

